For those wishing to use Anaconda on the local desktop instead of Posit Workbench (https://rstudio.gis.unbc.ca) here is lab 00 again reformatted for windows.
If you decide to go this route the two primary concerns are to always use the same desktop so you don’t need to copy this lab every week. And to make sure you copy your homework off the C: drive (Either to K: or push to your Git Repository) as the C: drives are periodically cleaned.
| Feature | Posit Workbench | Anaconda Navigatior |
|---|---|---|
| Environment available regardless of computer used | X | |
| Access to ‘K Drive’ | X | X* |
| Access to 48 CPU cores, 256GB of RAM (Shared) | X | |
| Access to 20 CPU cores, 32GB of RMA (Dedicated) | X | |
| Linux Environment | X | |
| Windows Environment | X | |
| Default Save Location periodically erased | X | |
| GUI for modifying environment | X | |
| Ability to install on own computer | X** | |
| Access via VPN or VMWare Horizon | X | |
** Your personal computer will not have access to the gis git for downloading demos unless connected to the UNBC VPN
Create and Environment to use
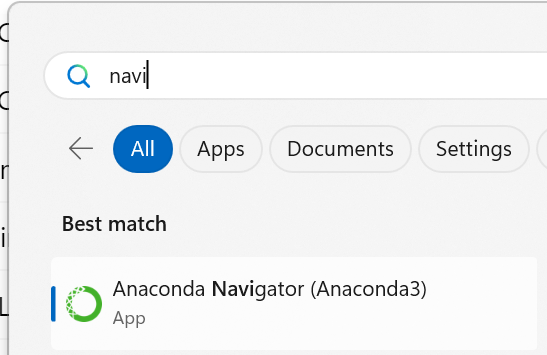
Open Anaconda Navigator (this will take some time up to 1 minute, and there will be some command lines showing and disappearing while it launches.)
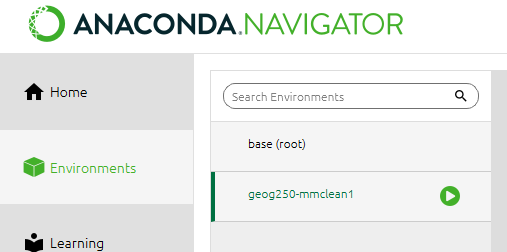
Once it opens, go to the Environments tab and ‘Create’ a new environment. Give it a name as we did before, at this stage we can also choose the python version to use, leave this as the system default. Press create. This will take some time create the environment (remember conda can be slow).
On Linux we used conda activate, and read the start of the command line to see what environment is active. On the local desktop we will see where the green play button is in Anaconda Navigator Before you launch Jupyter. Simply clicking on the desired environment will activate it.
Install Tools into environment
Go to the Home tab, and find PowerShell Prompt and install it.
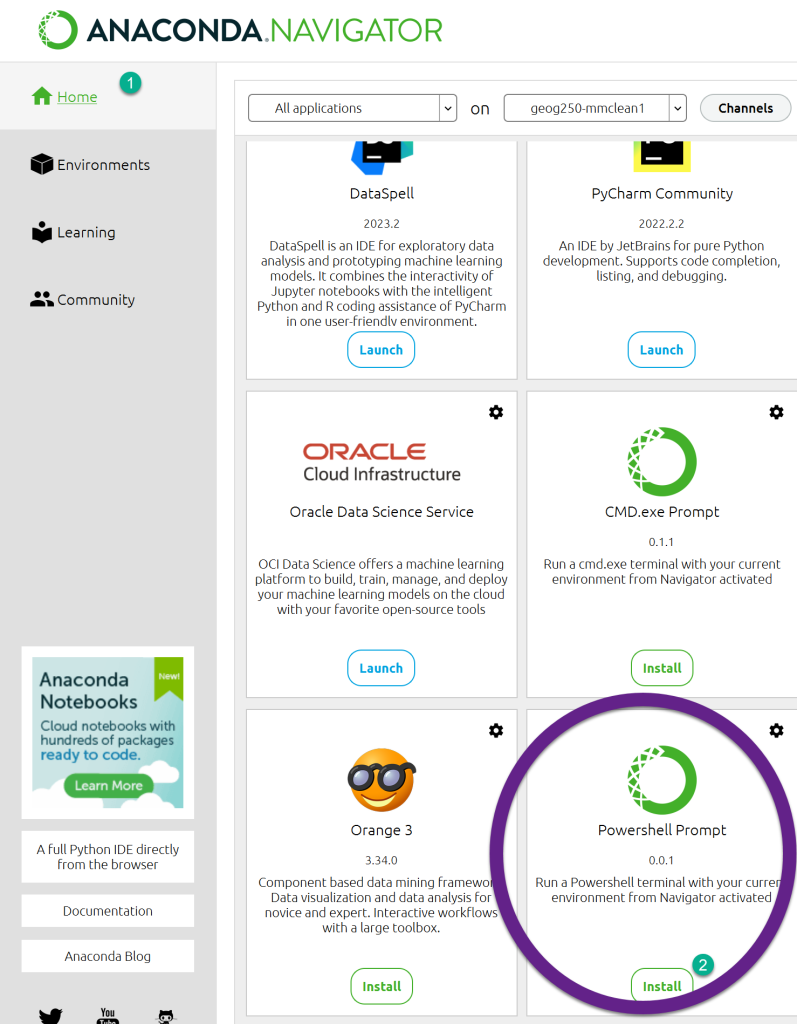
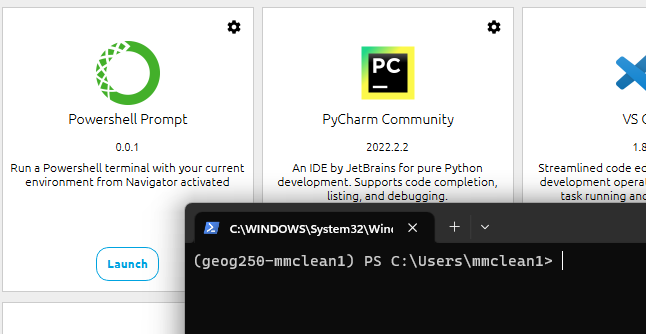
This will show a Windows User Account Control popup (that cannot be screen captured), you do not have Administrator credentials, but it will work anyways, just click no. You will notice that Powershell Prompt has moved to the top of the list, and the Install button has changed to Launch.
When launched it will look a lot like the terminal we were using in posit workbench, however on windows we use Powershell, instead of Bourne Again Shell so there may be some minor syntax differences.
Add conda-forge, update conda and install mamba.
conda config --add channels conda-forge #Add Conda Forge repo
conda config --set channel_priority strict #Always install from Forge when available
conda update --all -y #Update conda for faster solve
conda install mamba -y #Install mamba
Close Powershell, and reopen to get the updated version of conda/mamba. Once complete close powershell and reopen to ensure that the newest version of conda is in use.
Use mamba to install the rest of the packages used in lab
mamba install contextily rasterio cartopy pandas rasterstats xarray shapely pyproj gdal netcdf4 jupyterlab
You may have noticed, that JupyterLab used to be one of the applications in Anaconda Navigator and is no longer showing. No worries simply launch Jupyter from Powershell (Note that powershell must be left open in the background to keep JupyterLab running.
Additionally this allows us to change the network drive we are using before launching Jupyter as changing drives while it is running is unsupported.
cd K:
jupyter-lab.exe
Once loaded you will notice that you only have one environment to choose from. This is OK, as the default kernel is the one we launched Jupyter from so will always match the environment Powershell was in.
How to launch Jupyter in future weeks?
Provided you use the same computer each week these steps should not need to be repeated and the shortened version of
- Launch Anaconda Navigator
- Confirm your environment is active
- Launch Powershell
- cd into K and launch JupyterLab
cd K:
jupyter-lab.exe